
Shopify Review

9.5
Score
Company Info
- Founded 2004
- Headquarters Ottawa, CA
- Merchants 600,000
Dropshipping Integrations
- Oberlo
- Doba
- Printful
Costumer Support
+1-855-816-3857 Plans
$29-$299/moTop 5 eCommerce Platform


Shopify is a Canadian eCommerce company, best known for its eCommerce platform by the same name. The company was founded in 2004 by Tobias Lütke, Daniel Weinand, and Scott Lake, who were trying to set up an online store to sell snowboarding equipment, but got frustrated by the lack of high-quality eCommerce products. They decided to build their own eCommerce platform, which they finally launched under the Shopify moniker in 2006.
The Shopify eCommerce platform offers online retailers a range of services to set up and help manage their online store, including options for payment, online marketing, distribution and shipping (e.g. dropshipping), and customer engagement. To date, over 600,000 active stores were built using the Shopify platform, with a staggering total sales worth of more than $82 billion. Shopify is home to more than 3,000 employees working from five different offices throughout North America and is one of the major players in the field of eCommerce software.
Shopify offers a number of tools and integrations for dropshipping, most notable is Oberlo, a 3rd party dropshipping supplier directory (owned by Shopify). Oberlo integrates seamlessly into the Shopify platform, offering access to over 300,000 products from more than 100 dropshipping suppliers.
We’ll take a close look at Shopify’s eCommerce platform and zoom in on its dropshipping tools and options.

Templates & Editor
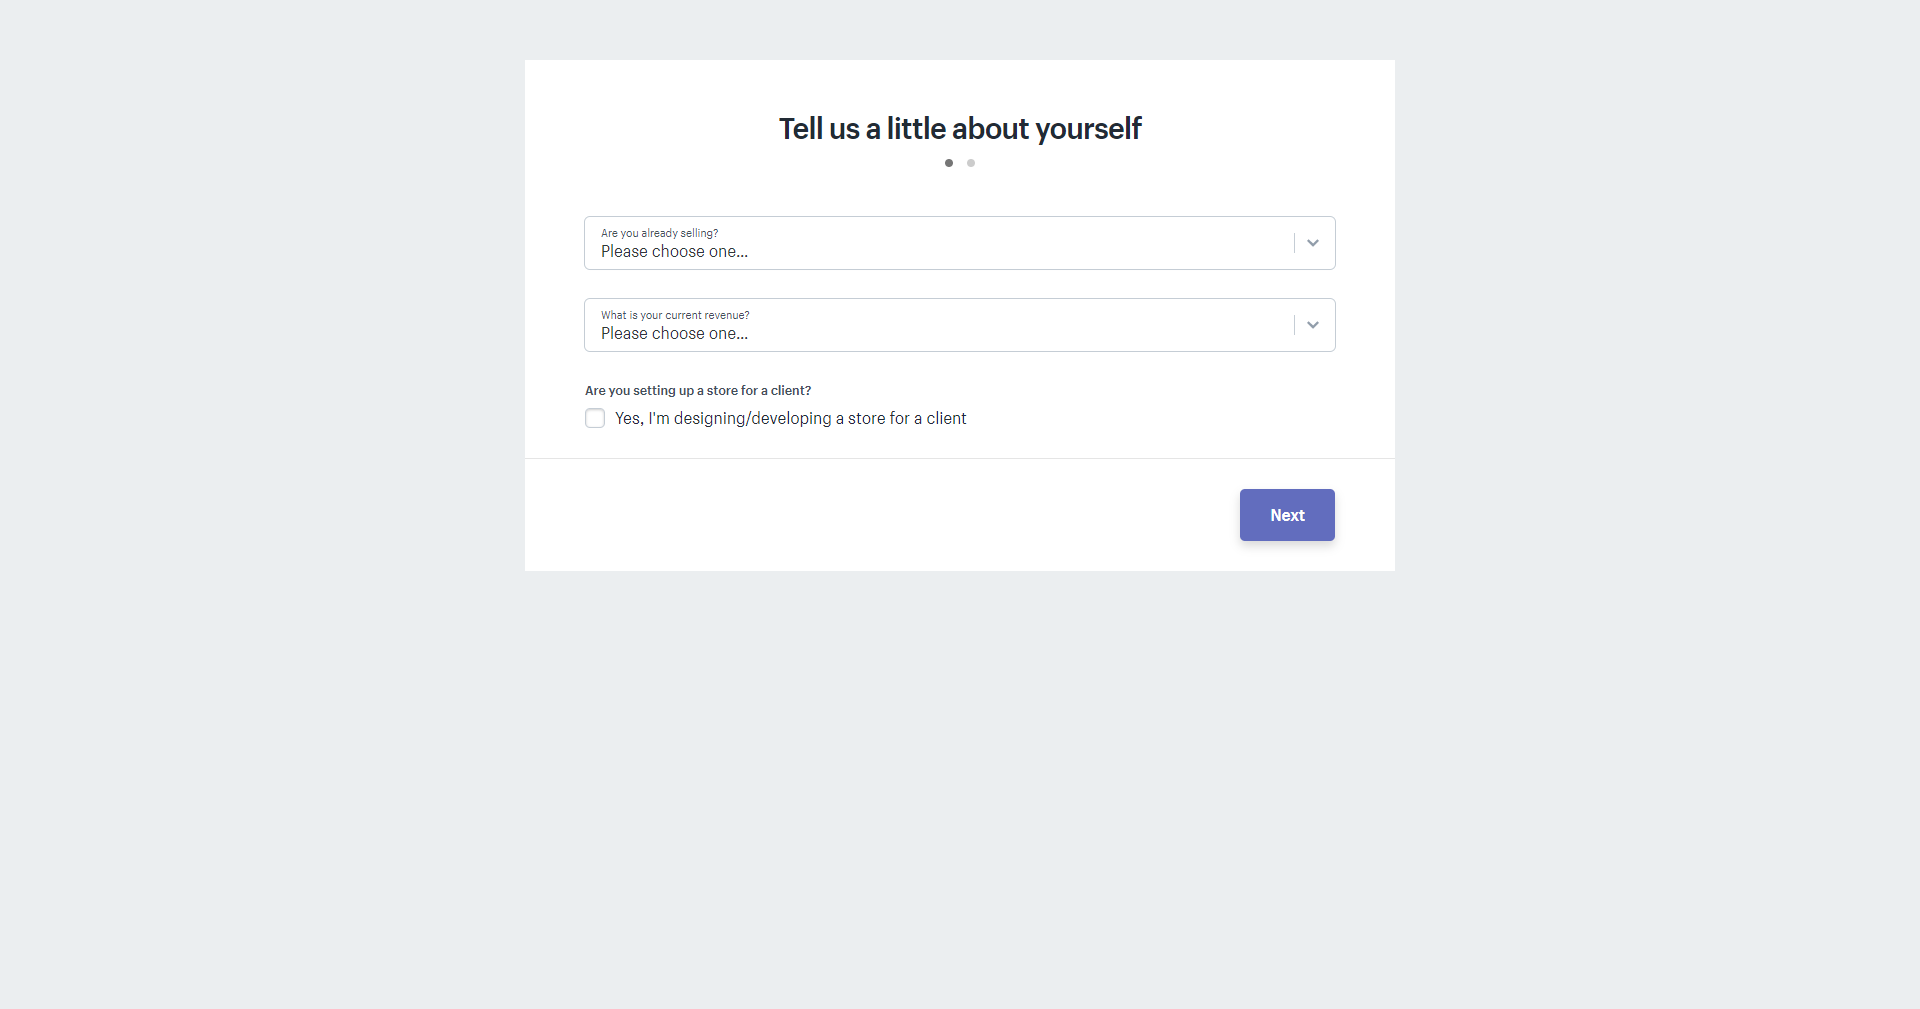
To open an account with Shopify, users have to answer a few simple questions about the online business they want to start. It is possible to keep things pretty vague if you’re not sure about the line of business and the budget you’re working with. You also need to provide a name for your store. We suggest deciding on your online store’s name before opening an account, as account settings do not provide an option to change that name. You’ll have to contact Customer Support to alter it or open a new store with a different name.
After submitting your personal details and confirming your email address for security reasons, you arrive at the homepage of your Shopify account dashboard.
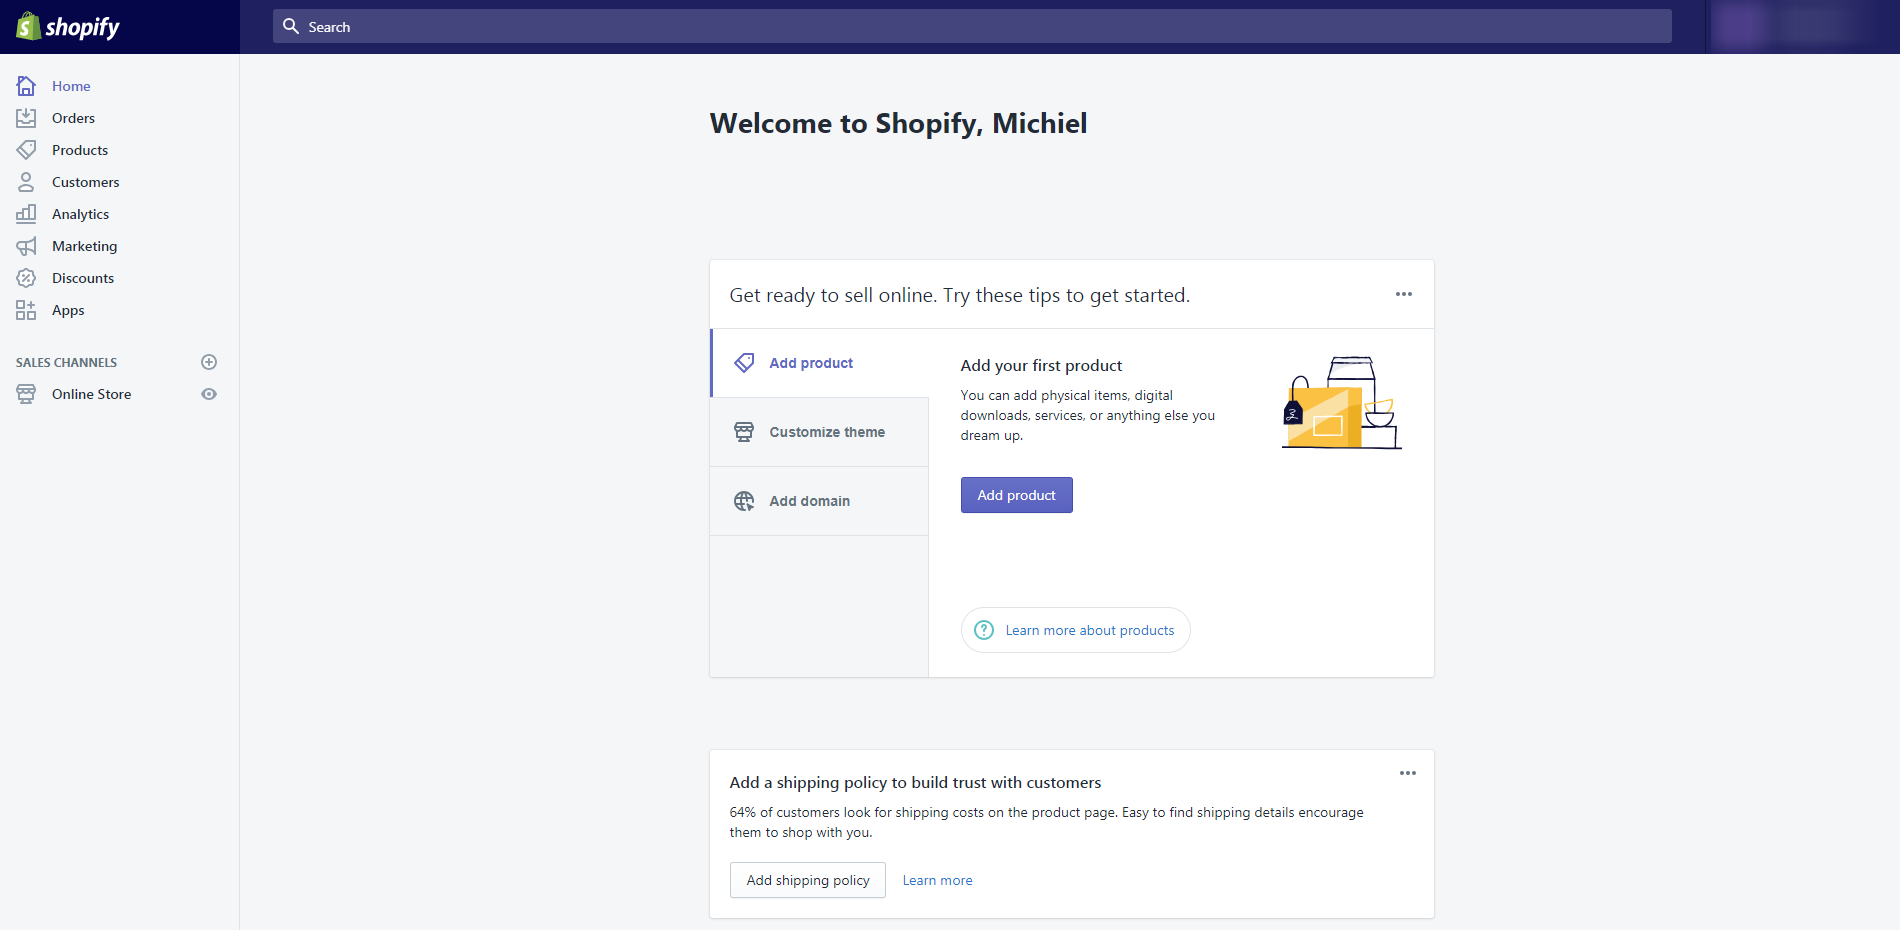
Shopify prepared the basic version of your store based on the little bit of information you supplied in the process of opening your Shopify account. The platform offers three options to continue from here: start adding products, customize the theme, or add a domain. While adding products is definitely the goal later on, customizing the template is the first thing to do.
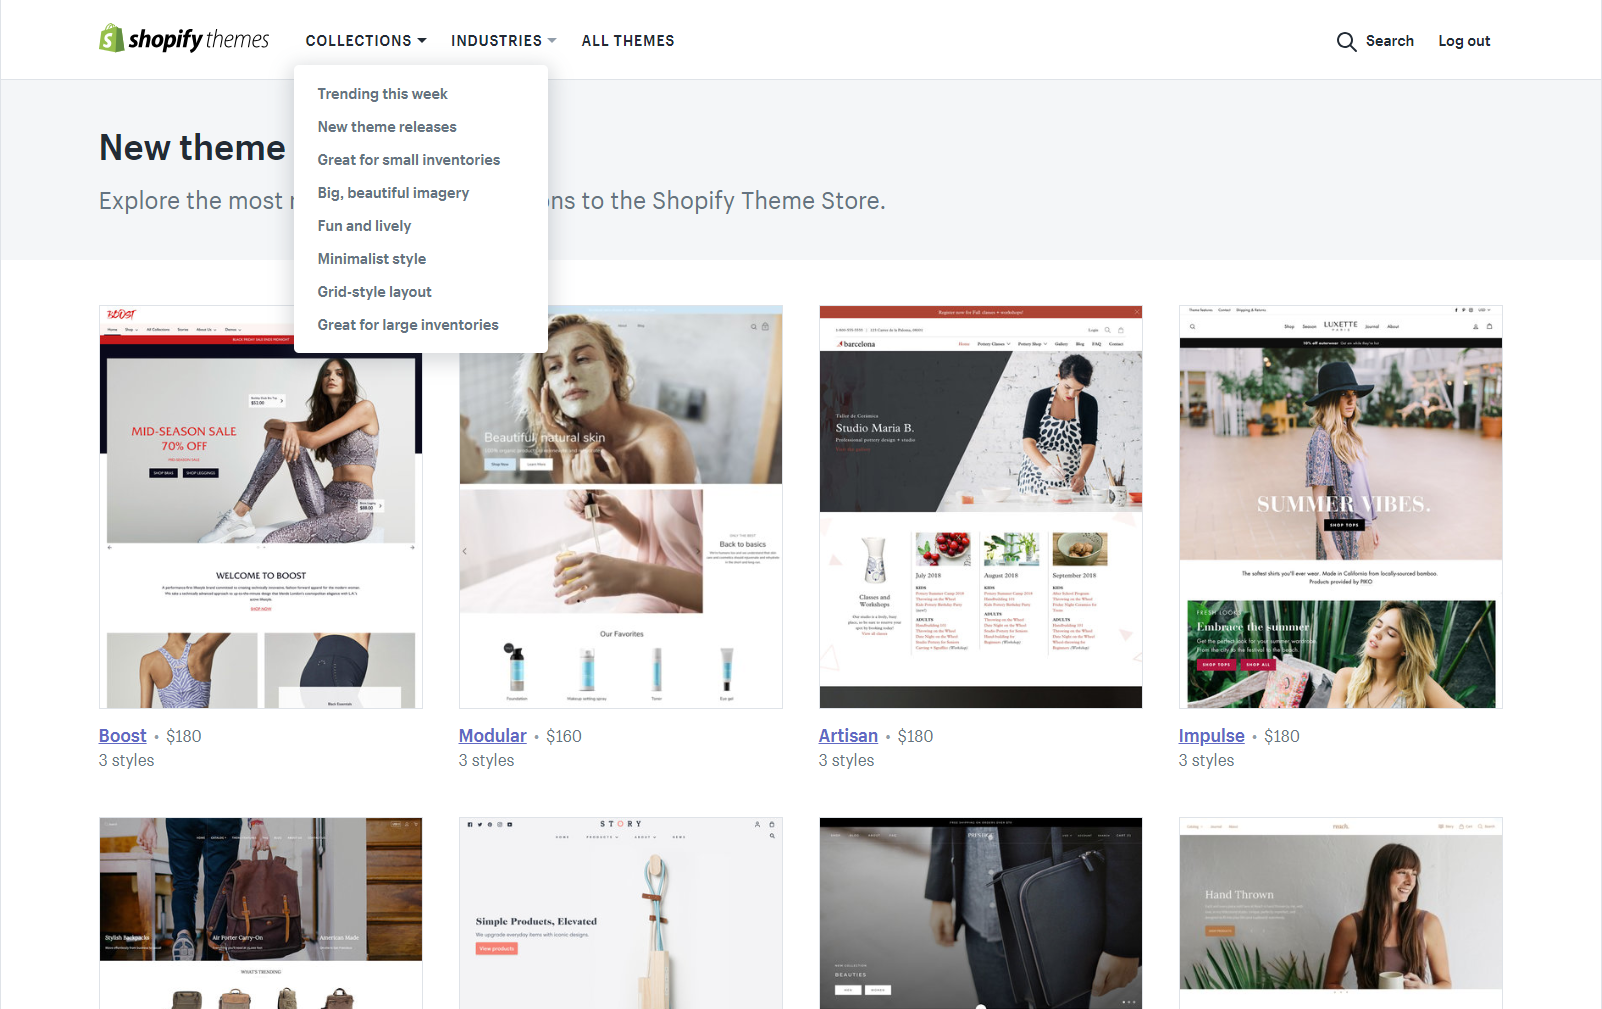
Shopify offers a total of 69 themes to choose from, 10 of which are free. You can browse the free themes, but you also have the option to look at all the themes together, or select a collection or an industry; the latter option especially suitable to narrow down the available themes based on your line of business, or at least a closely related industry.
The collections Shopify uses to order the templates include the following categories:
Trending this week, new theme releases, great for small inventories, great for large inventories, minimalist style, and a few options more.
The industries Shopify uses to categorize the available themes, include Art & Photography, Clothing & Fashion, Home & Garden, Health & Beauty, Sports & Recreation, and several other industries.
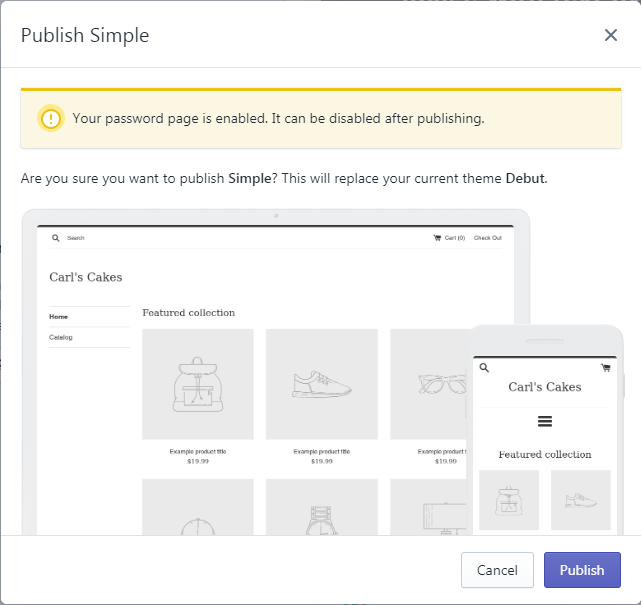
After choosing an alternative for the default theme Shopify used, you see the new theme appear in your dashboard. Note that the theme is not yet active, you need to publish the theme first. The screenshot also tells you that Shopify themes are responsive, which means no further editing is necessary to make them fit for mobile display.
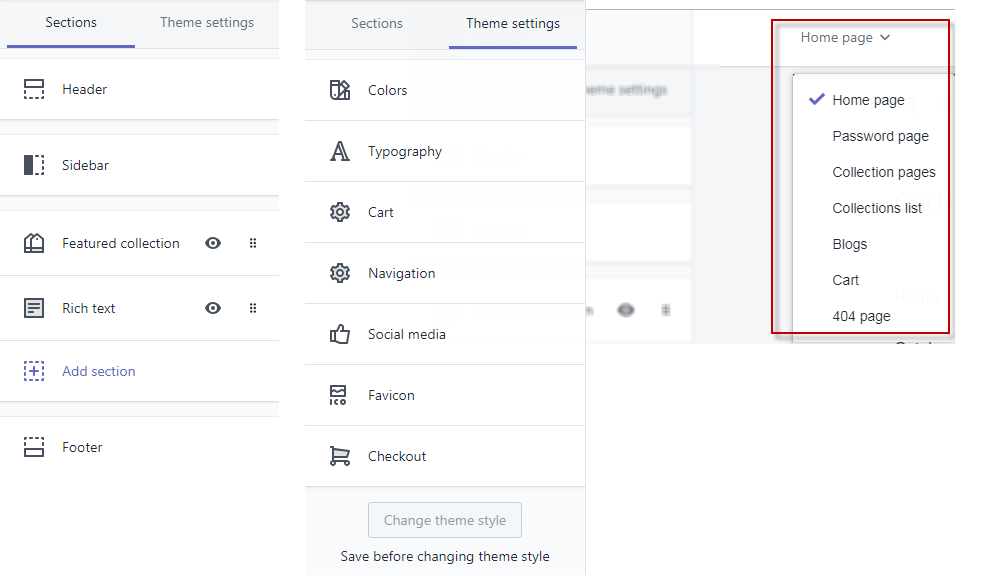
Now, we can start customizing our store with Shopify’s what-you-see-is-what-you-get editor. Clicking the ‘Customize’ button opens up the editor. The available options for editing depend partly on the chosen theme. The theme we picked doesn’t have a header image, hence the option to edit that specific element is not available. The editor offers two main tabs: in the ‘Sections’ tab, you can change the different elements of the page you are editing. You can select different pages in the top bar of the editor, which then opens the appropriate options in the Sections and Theme settings menus. Pages that you add to the navigation menus manually, show up in the overview at the top, but you can easily select them inside the editor window and it will open the page and the available options in the menus on the left.
After making the desired changes to the basic layout setup in the settings tab, you can start adding new sections to the pages of your webstore. Pages that you add through the pages tab are considered content pages and don’t allow for any additional elements except for what you can do in the HTML code of the text editor you have at your disposal. For all pages other than the homepage, the “add section” menu (as shown below), is not available.
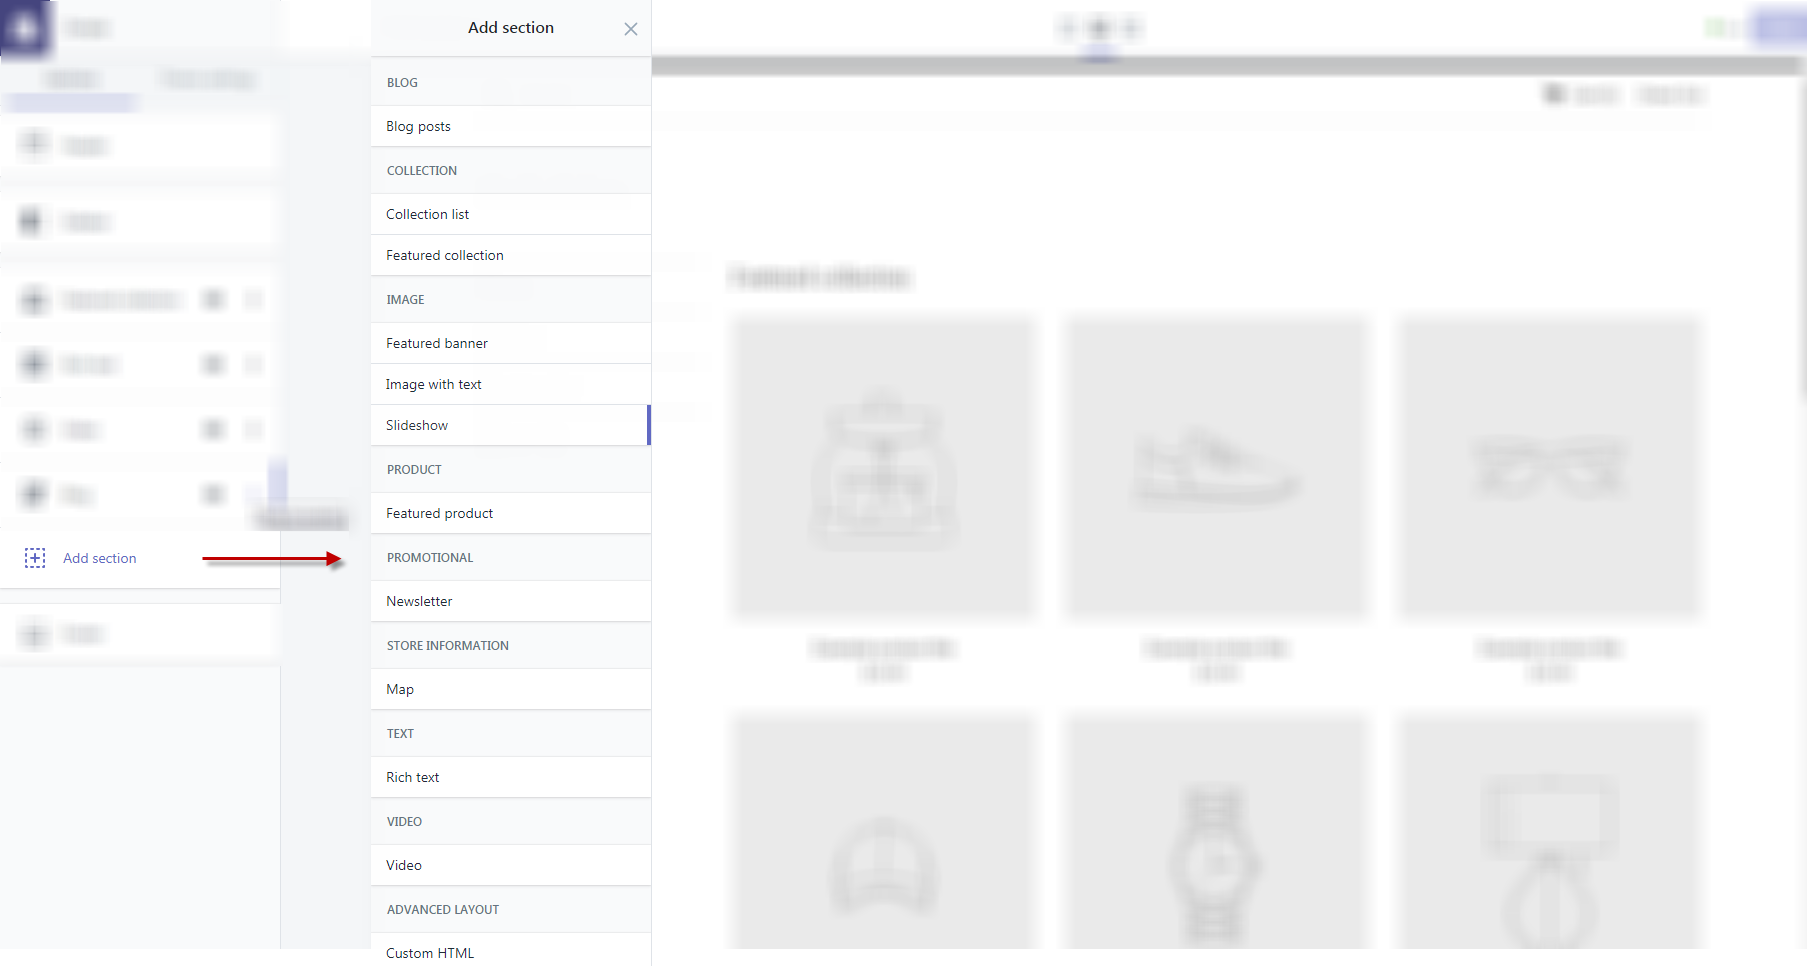
As said, on the homepage, the center of your store, you can add plenty of additional sections. Of course product pages are very important, but they focus on listing products – not on additional elements that can possibly divert store visitors from their path to purchase.
Options for sections to add to your store’s homepage include:
- Blog (three post excerpts linking to the blog page)
- Collection list
- Featured collection
- Featured banner
- Image with text
- Slideshow
- Video (YouTube, Vimeo)
- Newsletter
- Map
- Custom HTML (for advanced layout purposes)
When you click on any of the items in the Add Section menu, you instantly see the result on the page itself. But you have to actually click the ‘Add’ button to customize the element and click the ‘Save’ button in the upper right corner of the screen to actually add the section to the homepage. Removing a section is easy with the “remove section’ button, always located below the customization menu of the particular section you want to add or already added.
You can add as many sections as you want, and reorganize them by dragging and dropping the elements in the overview of sections on the homepage, located on the left side of your screen. This is the only actual drag-and-drop functionality available in the editor, but in combination with the separate customization menu that each additional section comes with, the editor is very functional and easy to work with.
The particular theme we picked has a sidebar on the left. This sidebar is also customizable, and one of the options is to add your social media links to the so-called ‘theme settings’. By doing this, the social links will show up on every page throughout the store.
Dropshipping with Shopify
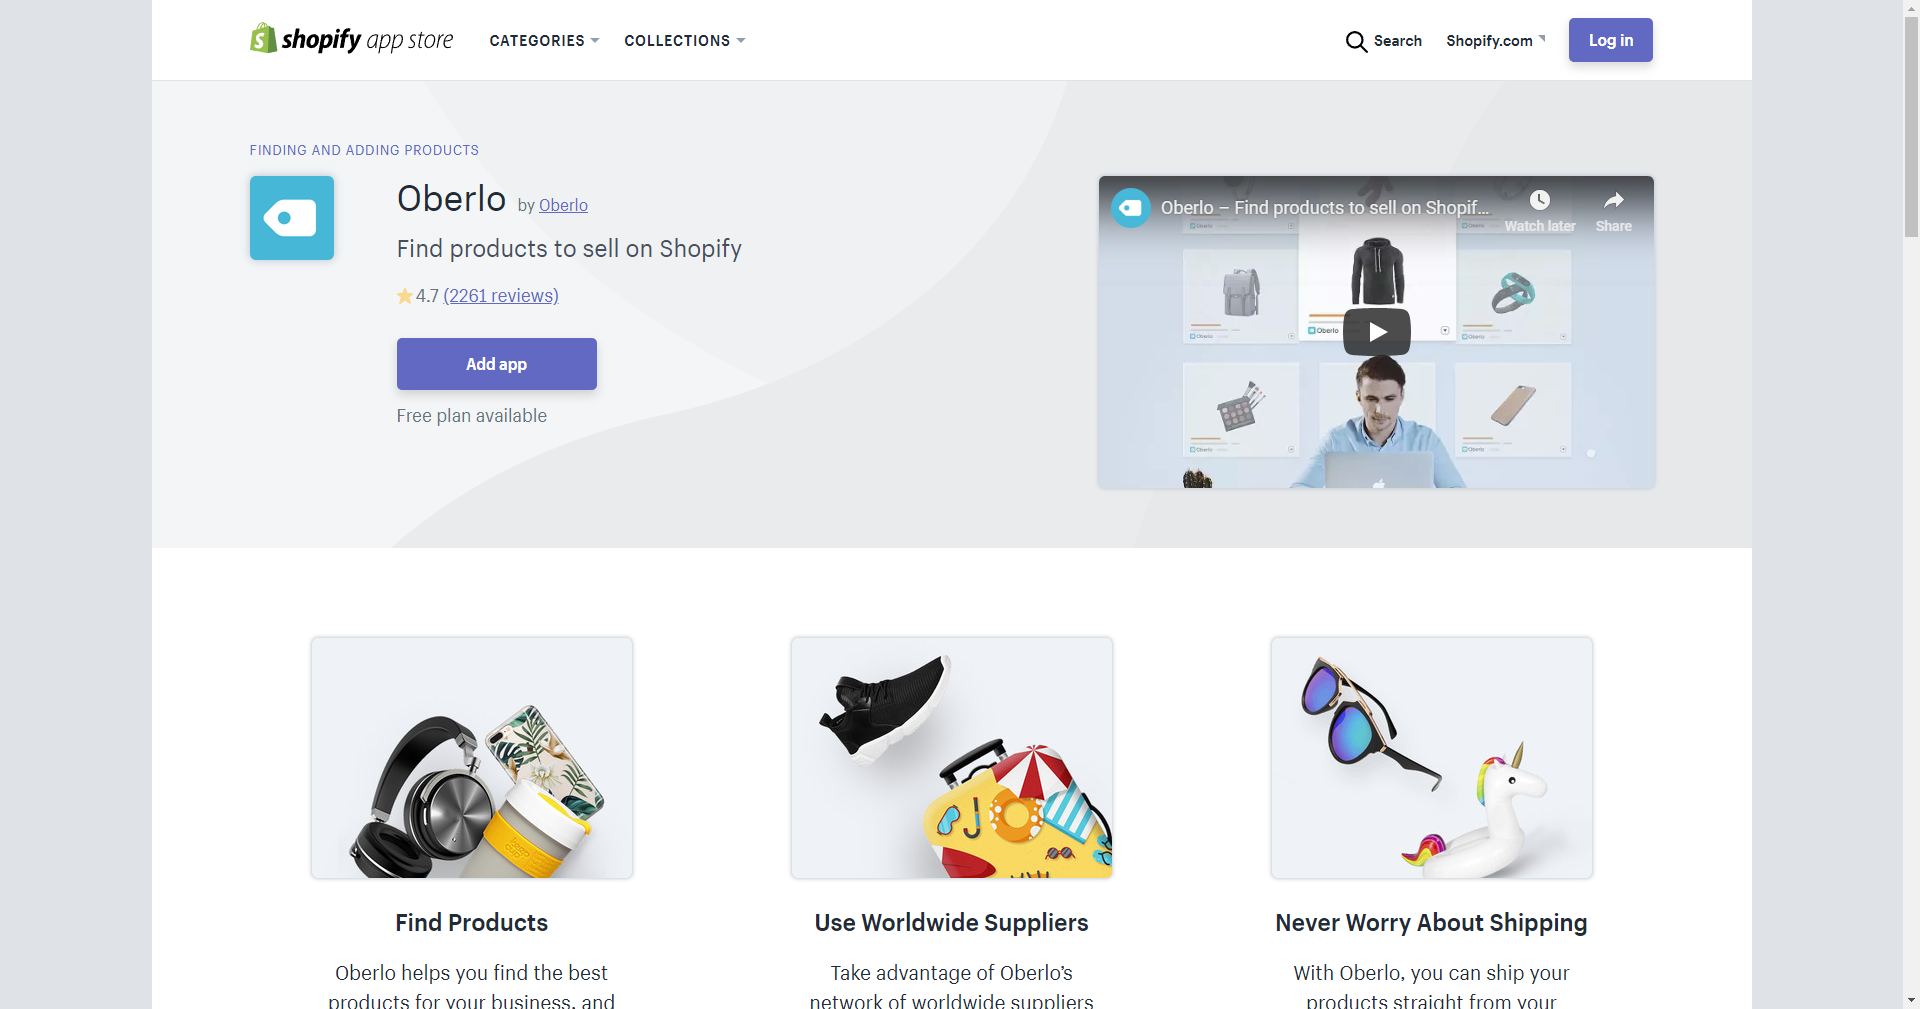
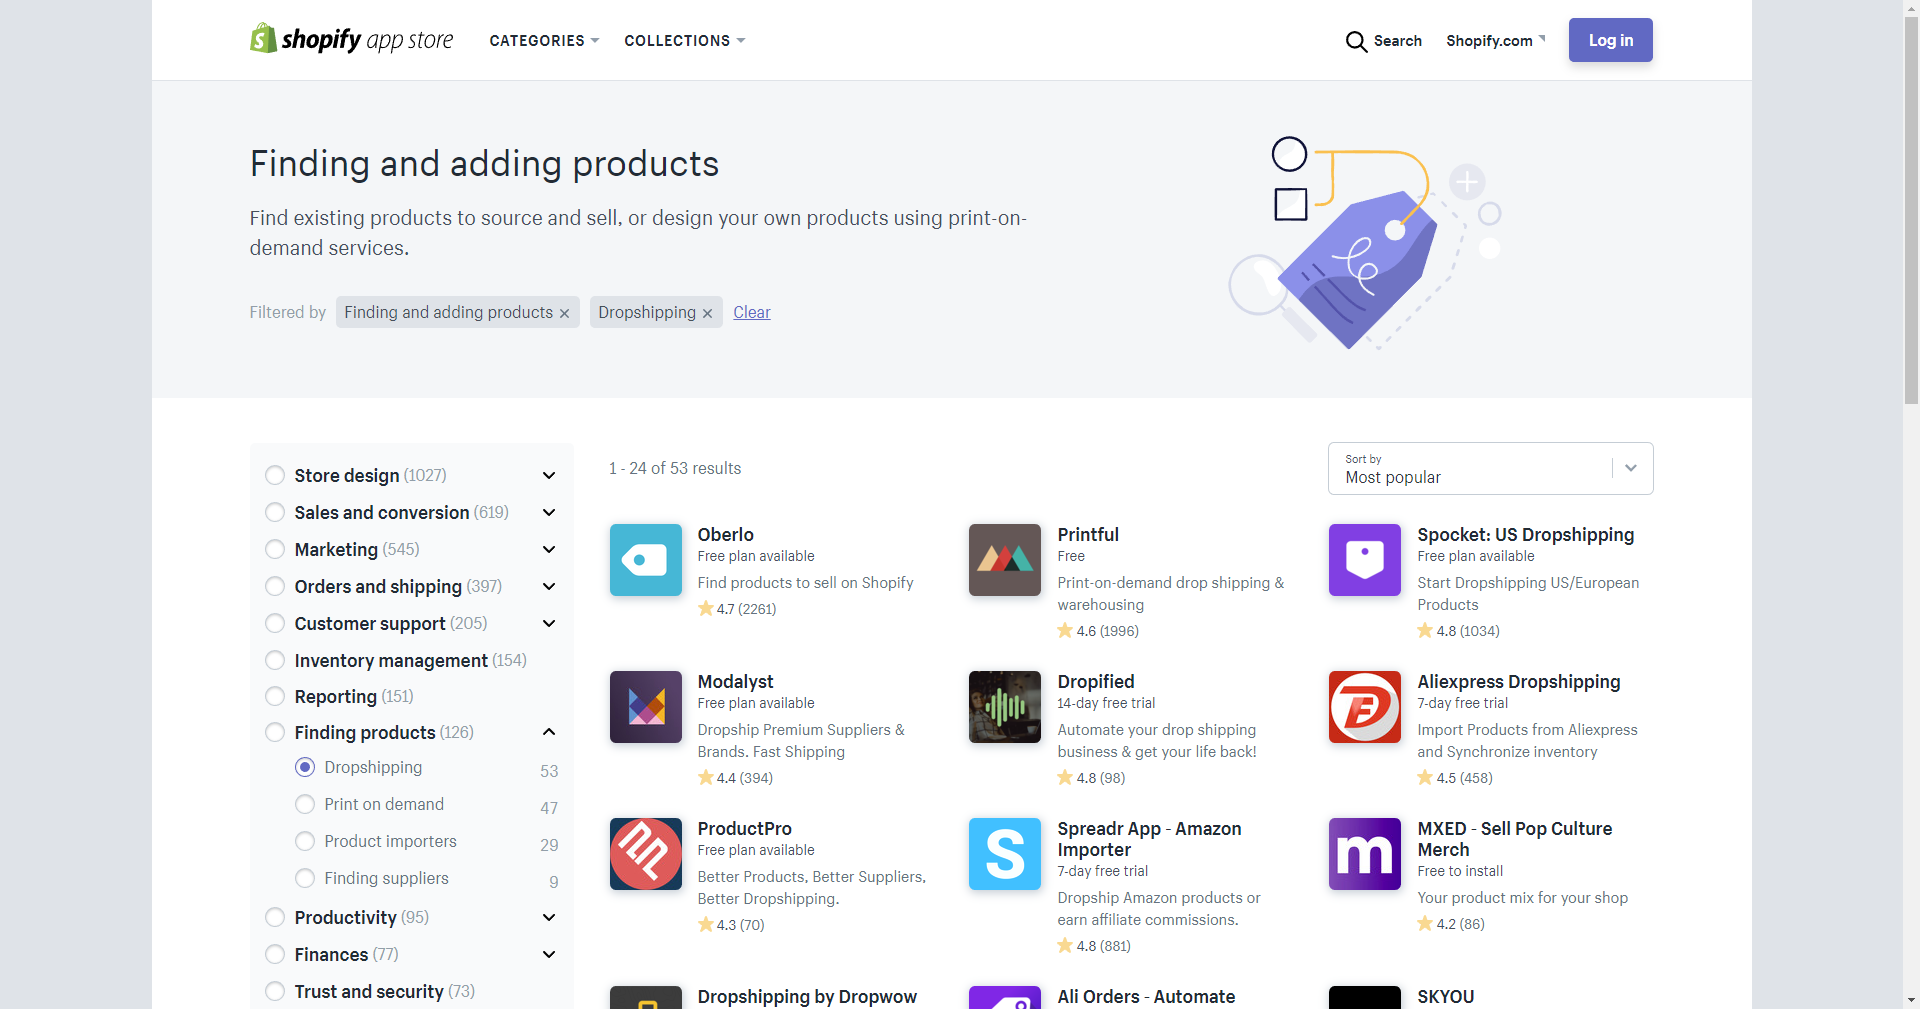
When working on building a Shopify store, it is not immediately clear where to find the dropshipping option. The dashboard’s homepage does not refer directly to dropshipping, so the logical first option to check is the Shopify App Store. Before we actually go to the app store, we land on a page where Shopify promotes several high profile apps, among which the Oberlo App.
This app is created by Shopify, which explains why Oberlo, a well-known dropshipping supplier directory, works with Shopify exclusively. To make sure we get the most from our Shopify store builder experience, we install the Oberlo app first and decide later if we want to install more apps. Installing more apps is definitely an option with loads of different dropshipping apps available: Inventory Source, several AliExpress dropshipping apps, Doba, Zonify and other Amazon dropshipping apps, and many more – 53 apps in total that cover various aspects of dropshipping (directories, direct suppliers, automation, et cetera).
Since Oberlo is the preferred dropshipping app for Shopify stores, expectations of its capabilities and automation options are high.
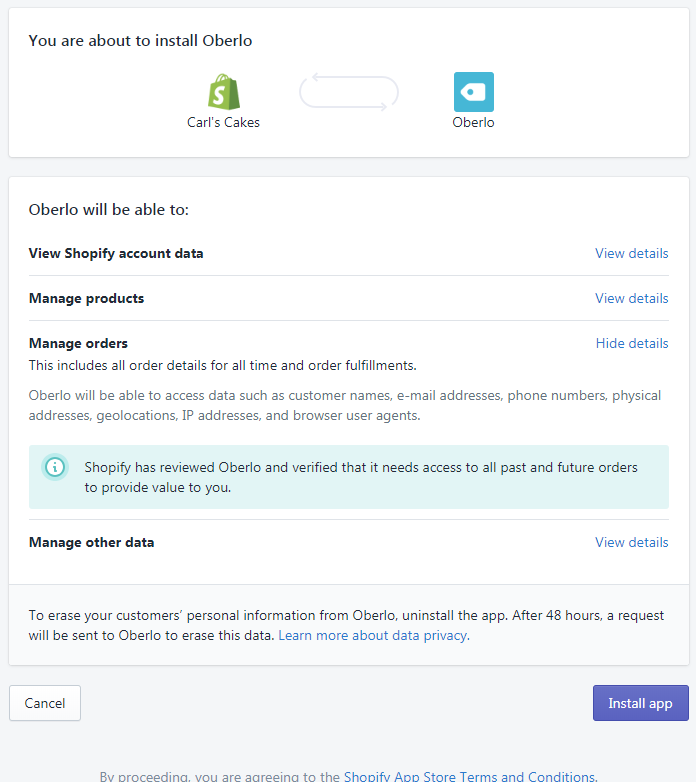
Installing is a formality, during which Shopify informs you of all your store data Oberlo will have access to once you authorize the app.
After the app has finished installing, it automatically opens and offers us a short tour. In a few short steps, the process of using the app is explained. Searching for products, adding them to your import list of products; it all works very intuitively, without any glitches or problems.

After we selected a range of products in the Oberlo app to add to our store, we move to the import list, select all the products and choose to import the whole list.
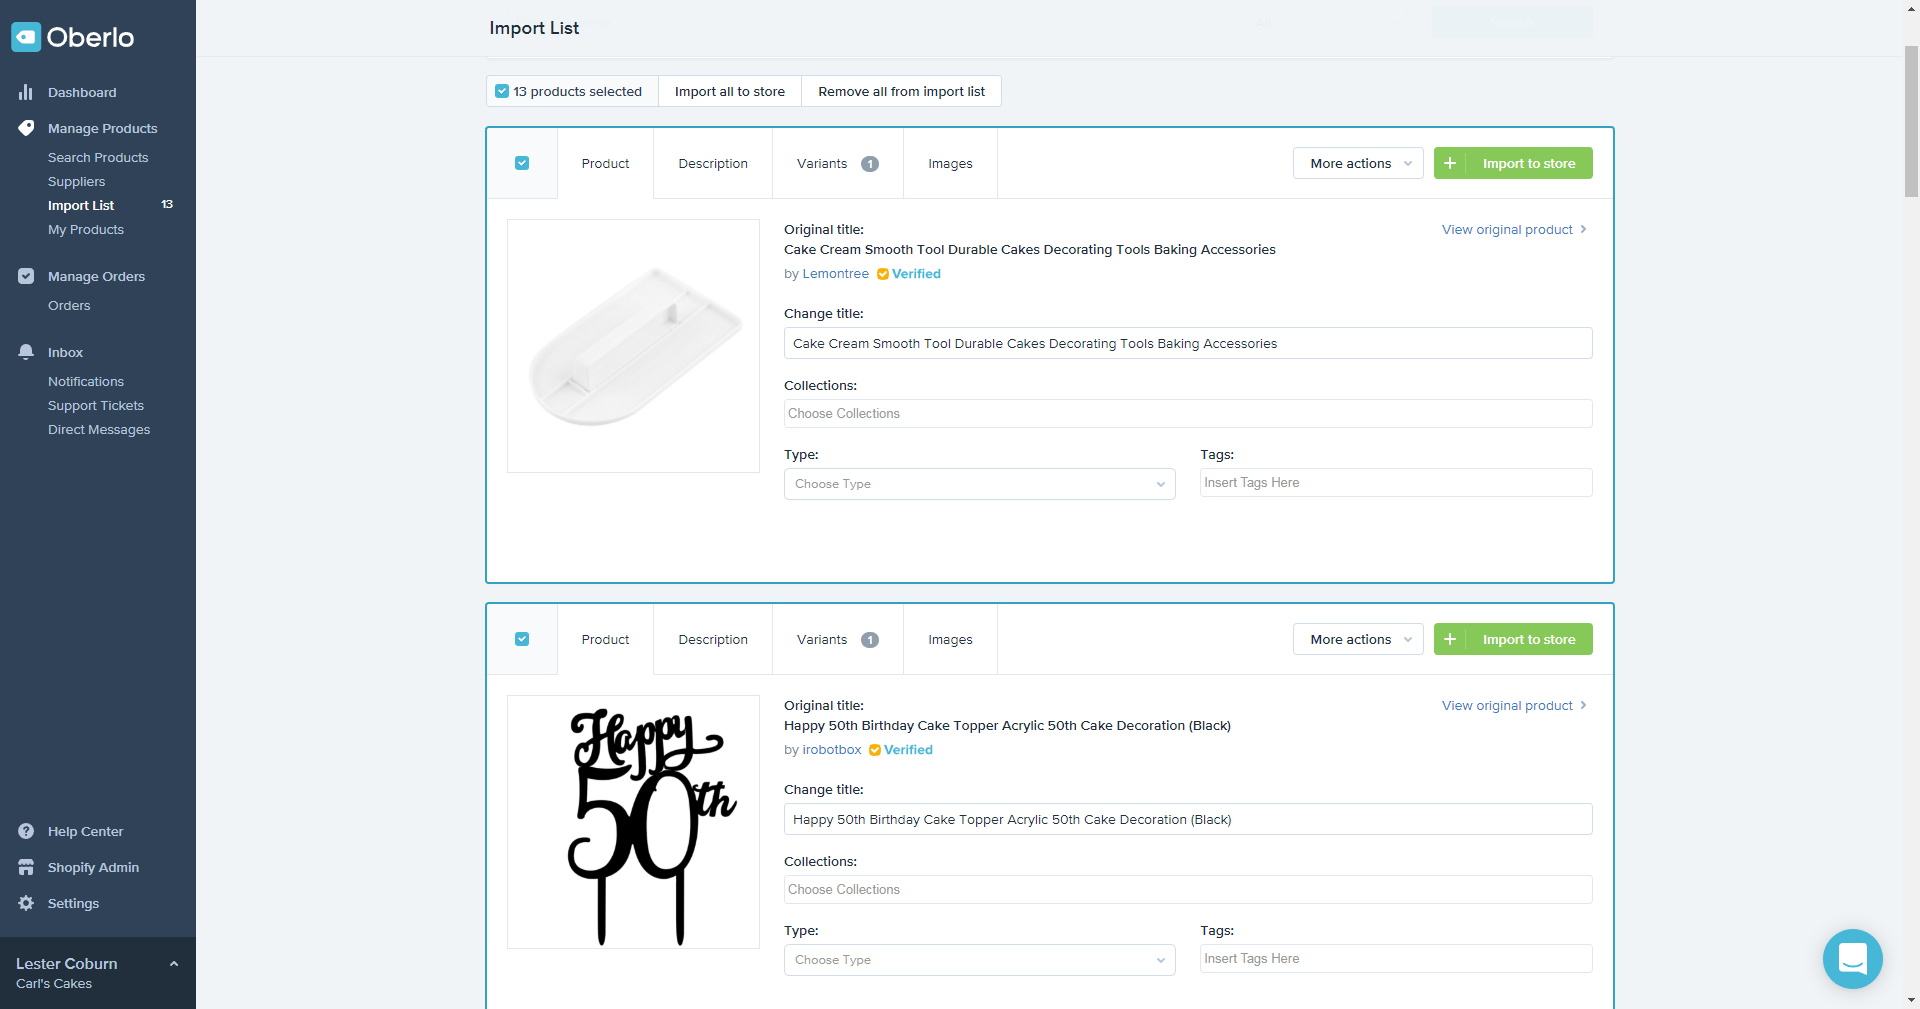
The selected products show up in our store dashboard, with additional inventory information added.
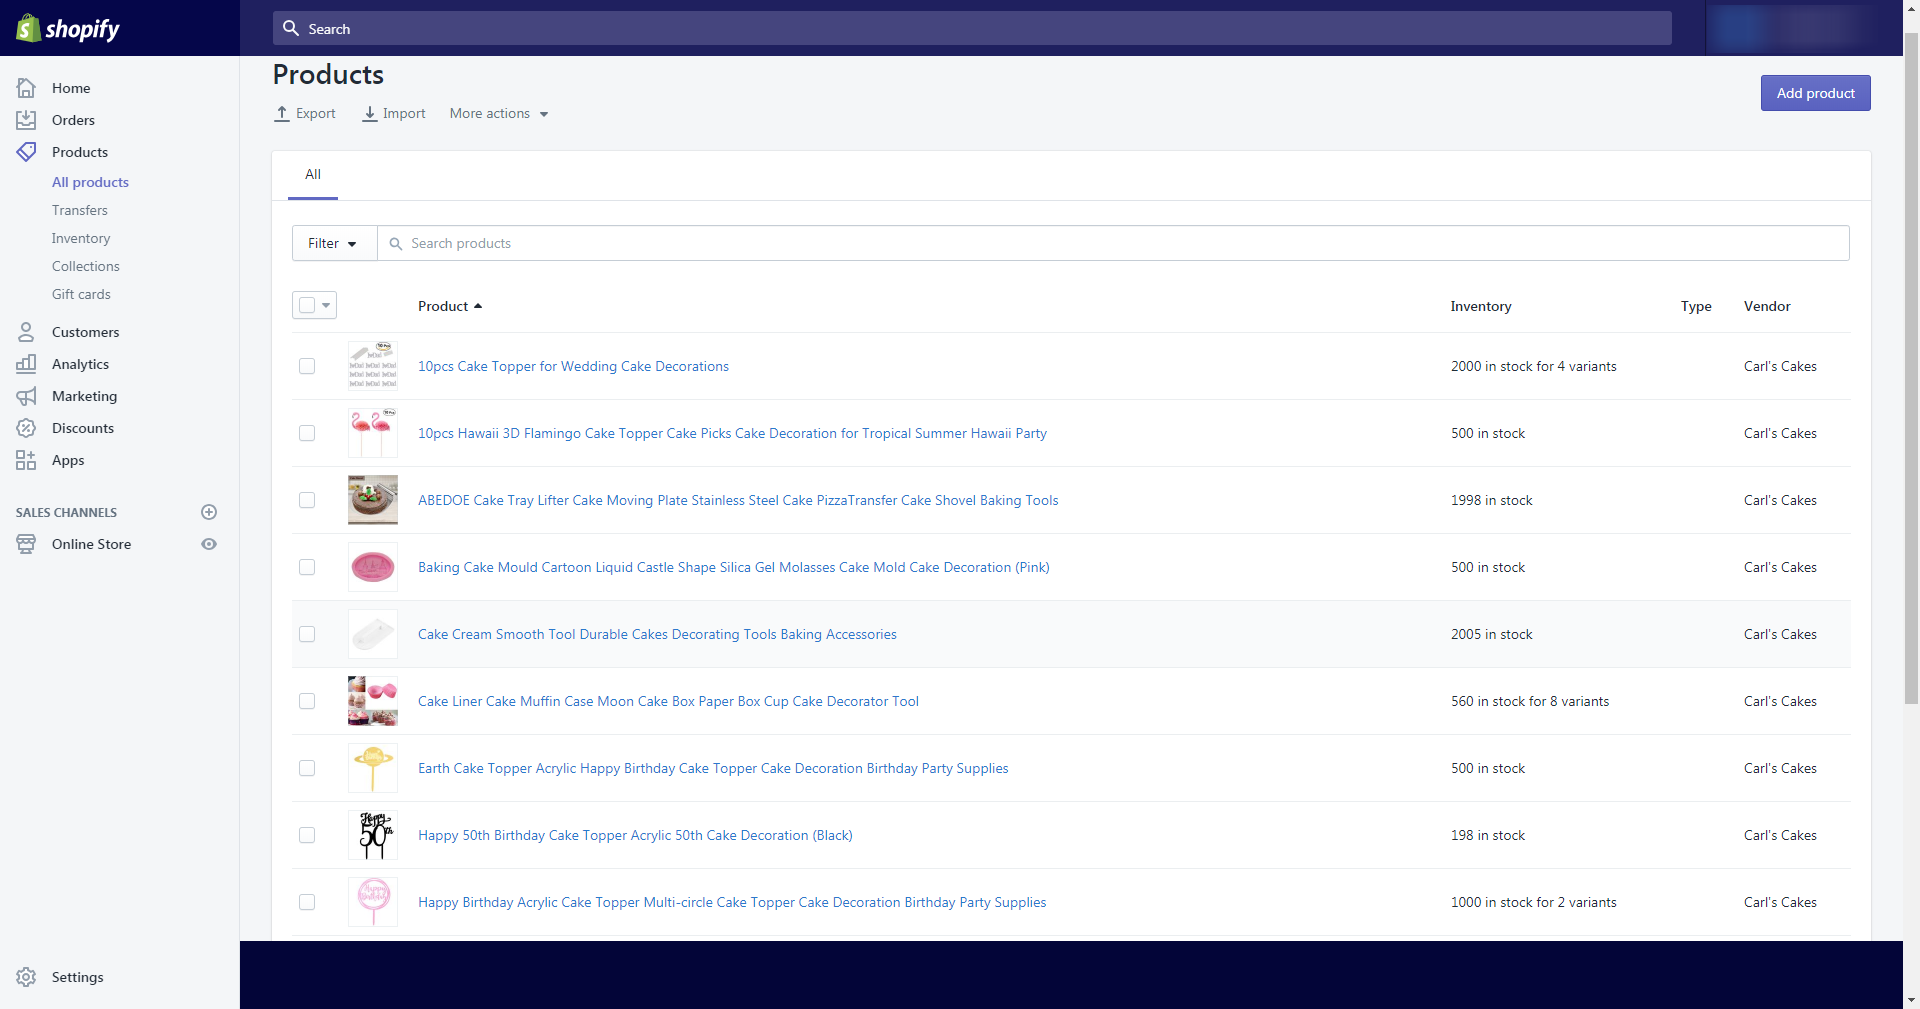
Now, we have to go back to our store to make sure our customers can actually find and purchase the products we imported from Oberlo. Everything is in order: the catalog, located in the main menu on the homepage, lists all the products, ready to be purchased.
Setting up your Shopify store for dropshipping
Your Shopify store is already close to completion, but you still need products to sell. First, you need to choose the dropshipping supplier to work with. The best way to do this is by checking the Shopify App Store for the available dropshipping suppliers. With 53 dropshipping-related apps available in the app store, this can be quite a daunting task. However, you can make things easy by choosing the app Shopify advertises for dropshipping purposes: Oberlo.
Oberlo is Shopify’s own dropshipping supplier and working with Oberlo will give Shopify users the best possible options for dropshipping. That does not mean you can’t choose another supplier: as long as an app for or from this supplier is available in the app store, you can work with this supplier once you add the app to your account. Oberlo is, however, specifically set up to accommodate Shopify users that want to use the dropshipping method. You can run the Oberlo app straight from your Shopify account without creating an additional account to access and manage the supplier’s app. With Oberlo, all the features you need, and more, are already in place:
- pricing features: items imported from Oberlo will automatically be priced at double the wholesale price. You can override this price whenever you want.
- inventory management: Oberlo will update its stock based on sales made in your Shopify store.
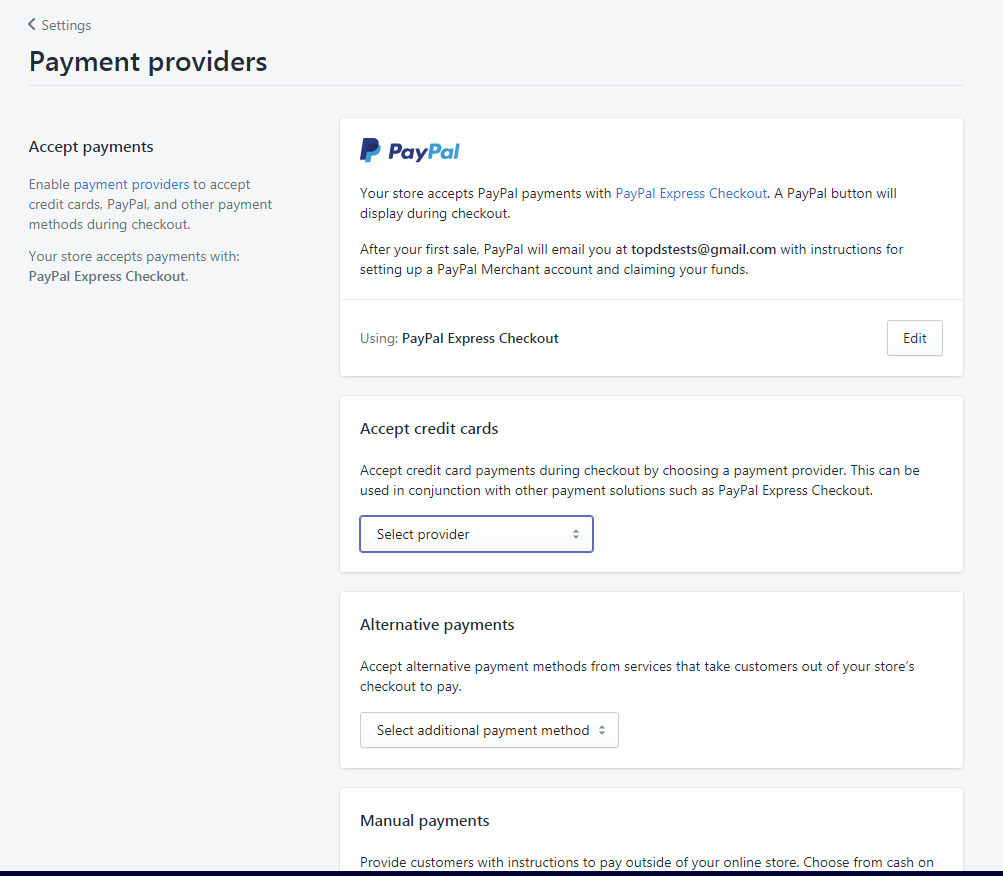
- payment options: PayPal is a preferred payment option, automatically offered in your store, but you can use other payment options, too.
- purchase ordering options: if you’re not using the fully automated order fulfillment option, you can choose to order purchased products one by one or in bulk.
- order fulfillment: you can choose automatic order fulfillment, manually, or partially (in case of out of stock products). Each option requires a specific setup.
- shipping: depending on how order fulfillment happens, you can choose shipping options and conditions.
- order archiving: you can choose to archive orders automatically after payment and shipment, or, for precise control and tracking purposes, archive manually.
Sell, then purchase
Dropshipping with Shopify is all about finding the right supplier for the products you want to sell. While you display the product in your online store, you do not actually purchase the product before a customer makes an actual order. When that happens, you purchase the product and select how the supplier will ship the product directly to the customer. With Oberlo, the native Shopify dropshipping app, the whole process, from importing product listings from the Oberlo database to your store’s catalog up to the order fulfillment by the supplier, can be fully automated.
Automatic inventory syncing
When using Shopify in combination with Oberlo, you can run your store, including things you run from the Oberlo app, with one single account. You go back and forth between Oberlo and your store dashboard, but you don’t need to log in to a separate account for the tasks that happen on the supplier side, in this case Oberlo. You can run the system on full automation, which means inventory syncing happens automatically, as does the order fulfillment. You can fully automate inventory syncing with (some) other supplier platforms too, but it does involve at least opening a new account and logging in to different platforms to manage the whole process. You also need to set up your additional account with the chosen supplier or supplier directory in such a way that automatic syncing will be possible, which can possibly take a while depending on the ease of use of the platform.
Purchase order received: buying the product from your supplier
Once a customer buys a product in your store, you need to order the product from your supplier. This part of the process does not happen automatically, although in your Shopify account, the option to fulfill orders automatically is available. When working with the Oberlo app, this setting cannot be used. It needs to be unchecked and changed to the option “do not automatically fulfill any of the order’s line items”. Then your orders will appear in Oberlo as “unfulfilled”, along with an “order product” button. Ordering products in Oberlo is a fairly simple process. You have several options: when you’re making a lot of sales, it makes sense to order products in bulk instead of one by one. You need to set your shipping preferences, although Oberlo does select the cheapest method by default. You also need to make sure, if you didn’t already, your pricing structure is set in your preferred way – although this happens back in your Shopify account.
Using different suppliers with your Shopify dropshipping store
You are not limited to using Oberlo as a supplier channel for your Shopify store. The Shopify app store offers more than 50 dropshipping related apps to choose from, including apps that help you connect your store to a specific supplier or supplier directory.
The integration between your Shopify dropshipping store and Oberlo is very convenient and gives you all the options you need to automate processes, but you have other options too:
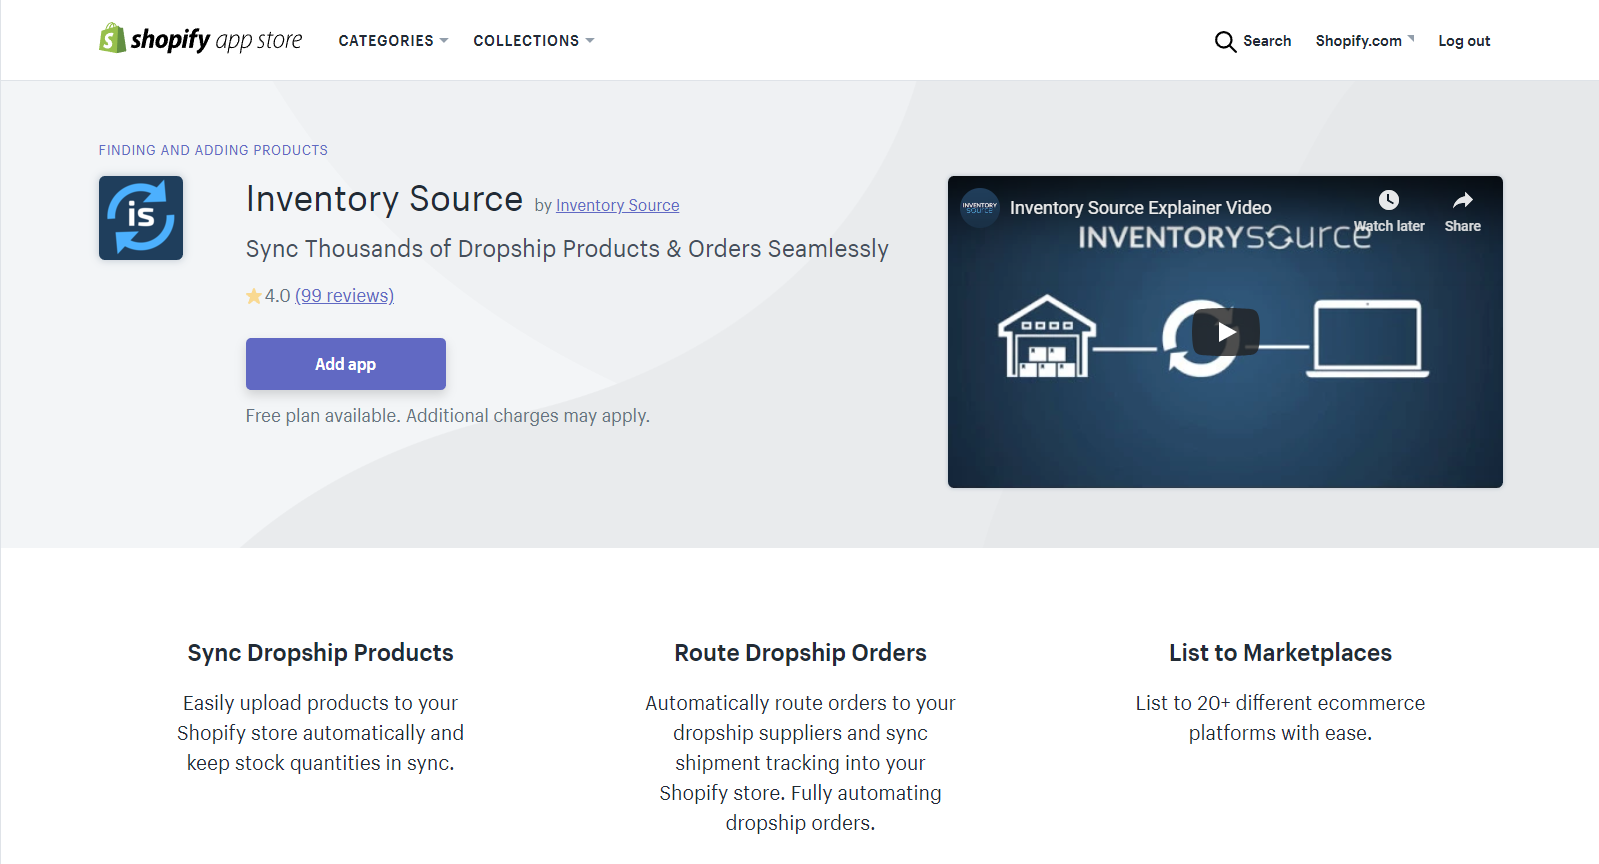
Inventory Source: Inventory Source is a dropshipping supplier directory that lists approx. 8 million different products from more than 200 suppliers. The Inventory Source app gives users the option to automate the whole sales process. After opening an Inventory Source account, it takes some time to set up the connection between Inventory Source and your Shopify store. The necessary time investment to properly set up the integration is well worth it since it opens the door to an immense product catalog of potential products for your store.
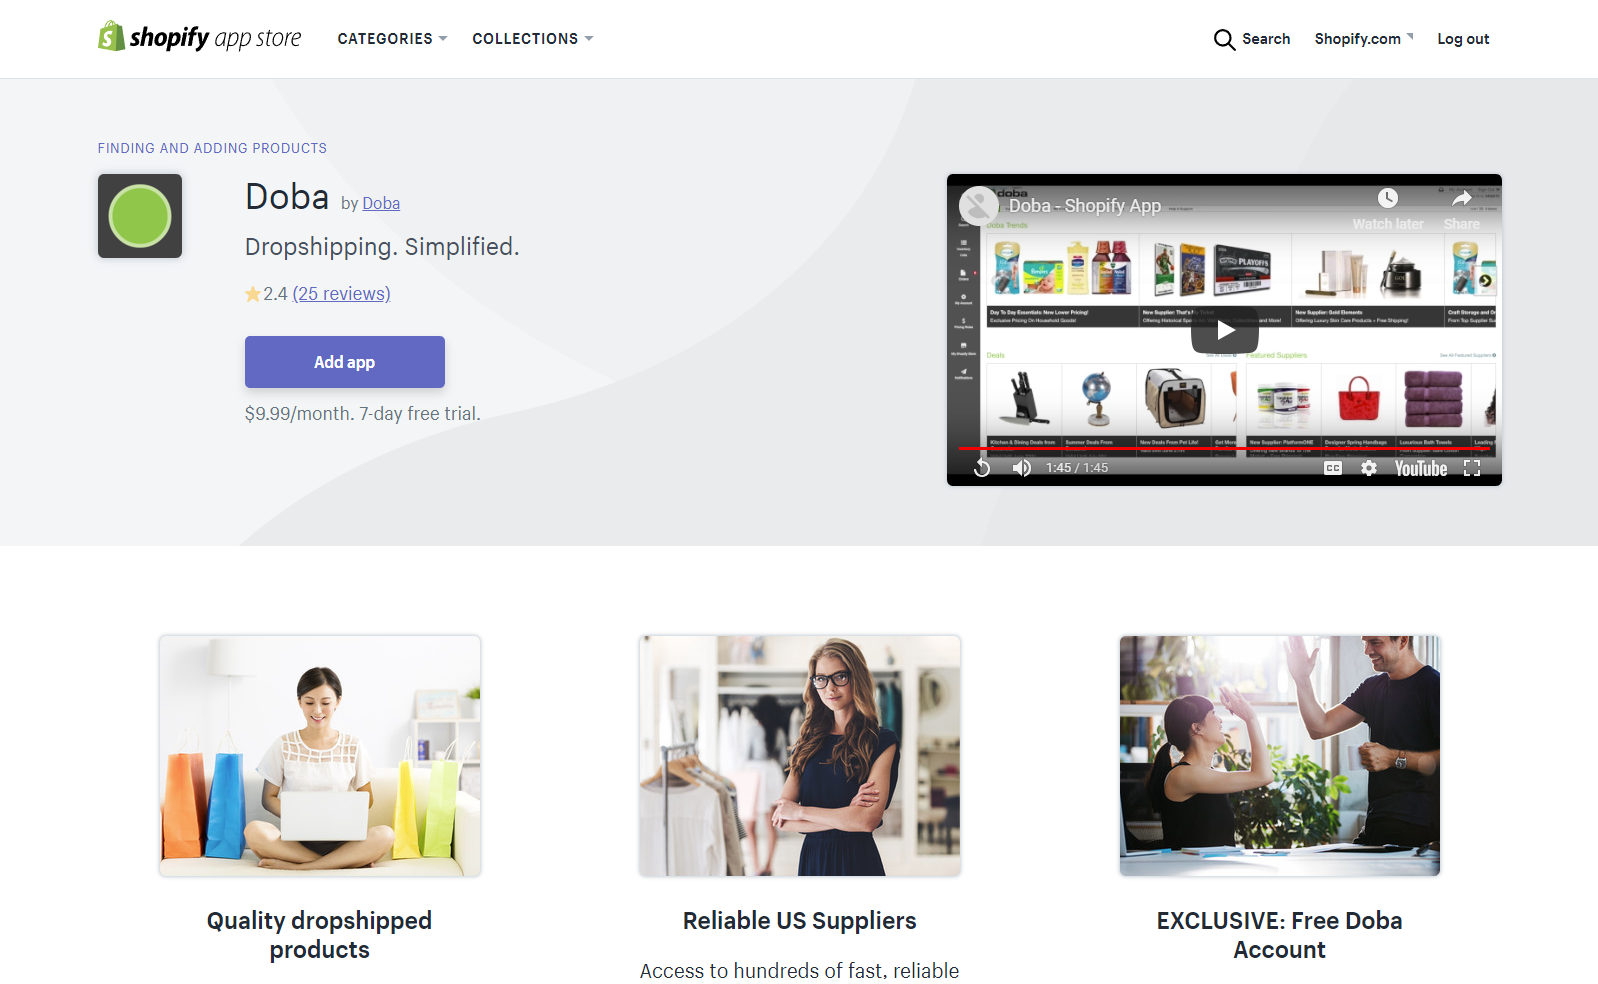
Doba: Doba can be a very good partner for dropshipping stores focussing on the US market, since Doba offers access to a product catalog of more than 1.5 million products from US suppliers only. Like with Inventory Source, you have to create a separate Doba account and set up the app to connect it to your Shopify store, after which you can access another source of potential products for your store.
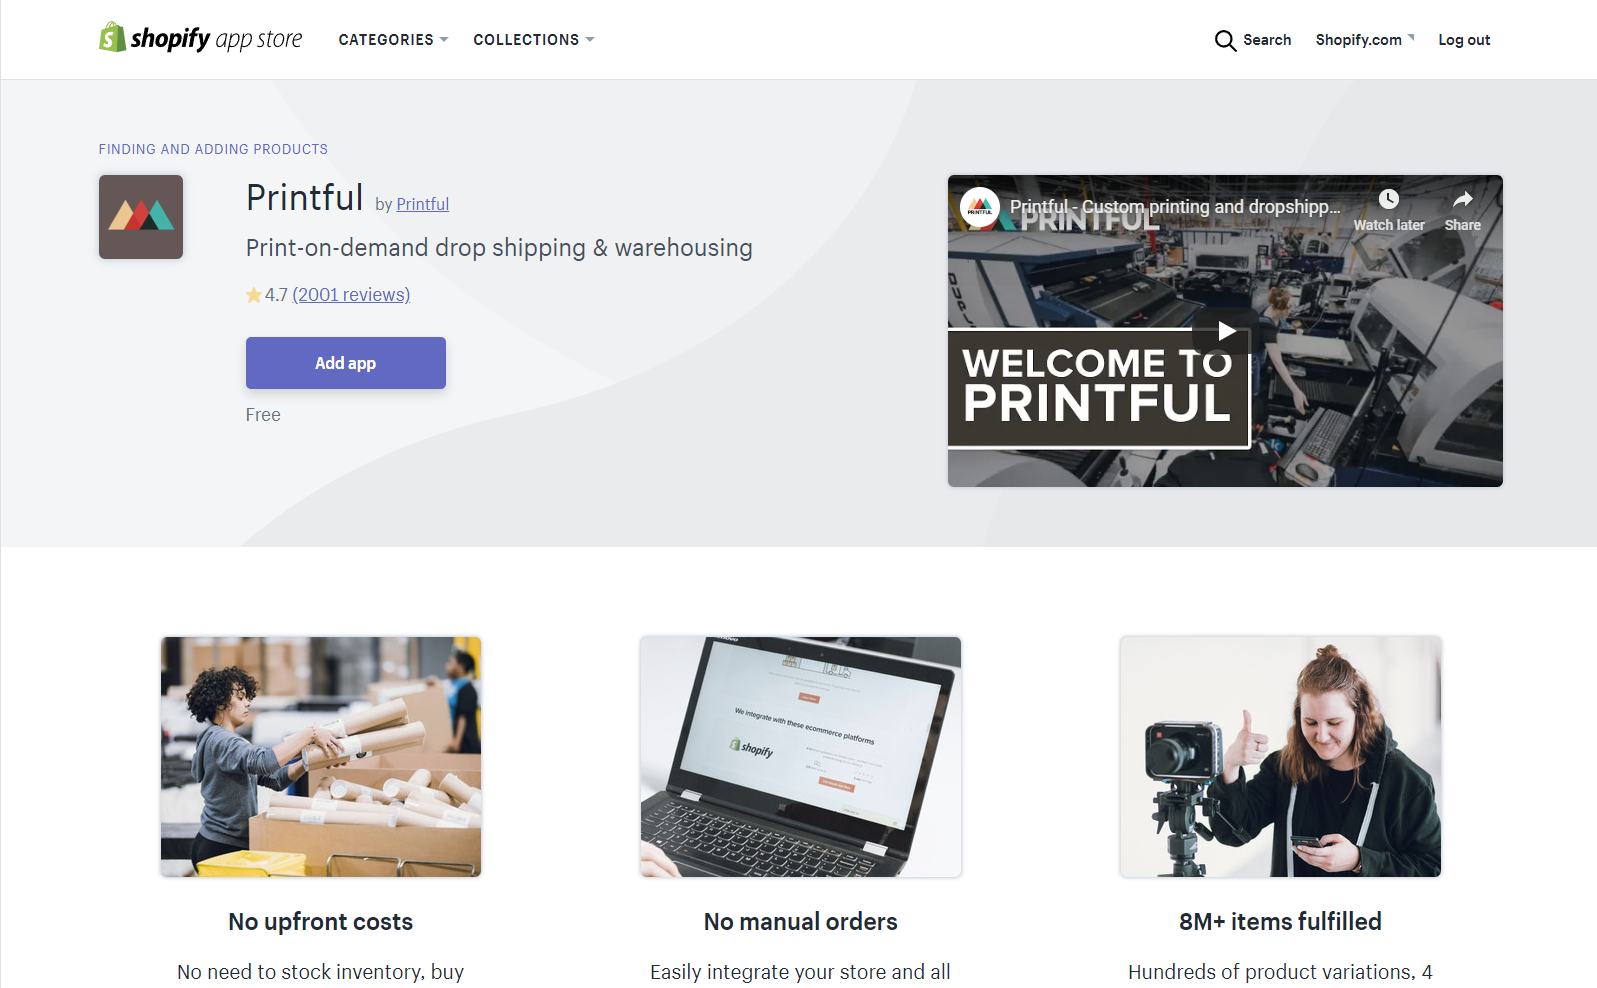
Printful: designers can bring their designs to life with Printful, a printing service that prints designs on a wide range of products, from mugs, to pens, to clothing – and anything in between. Printful specifically caters to dropshippers and enables you to bring unique products to the customers of your Shopify dropshipping store.
Shopify does not limit you at all in your options of working with other suppliers than its own preferred supplier. You have plenty of options to choose from and, based on the quality of the app, you can integrate other suppliers with your store in such a way that the whole sales process is very efficient and automated for a large part.
Marketplace Integrations
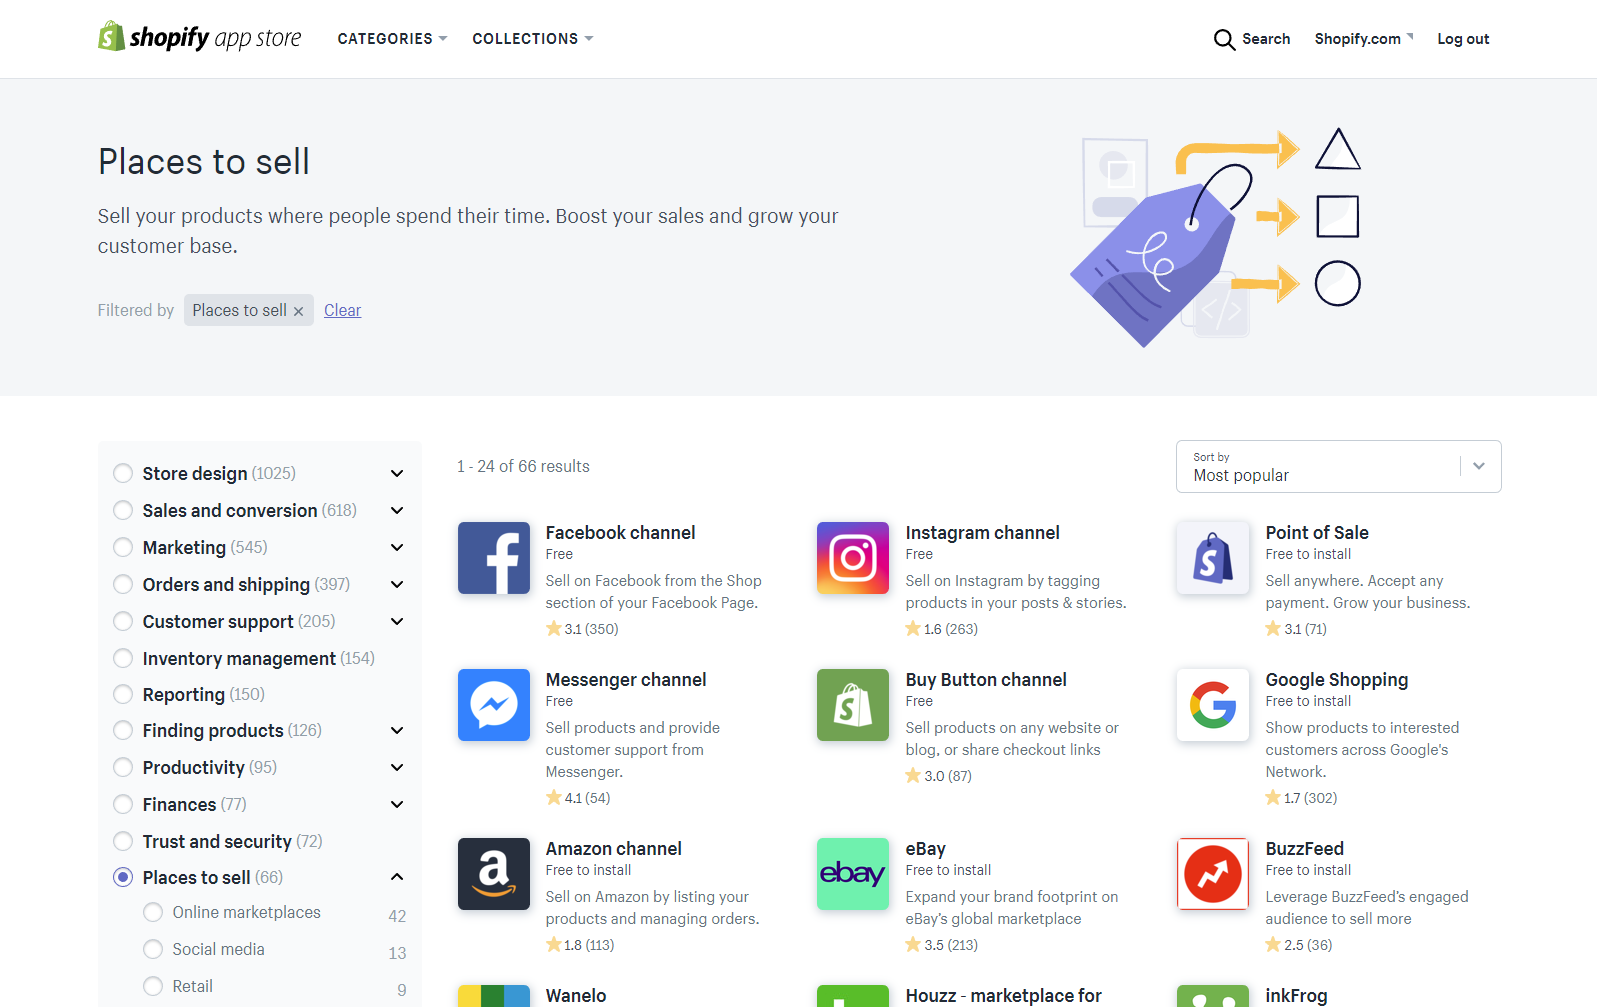
To stretch the reach of your dropshipping store, you can offer your products on other channels. Shopify offers plenty of options to increase your potential audience, by offering quite a wide range of possible sales channels to connect your store to. There are two ways to go about:
Your Shopify store is seen as a sales channel in your Shopify account. You’re free to add more sales channels to your account, all you have to do is select the channels you are interested in adding from the pop-up Shopify presents. Options include Amazon, eBay, Facebook, Messenger, Instagram, Point of Sale, and many more.
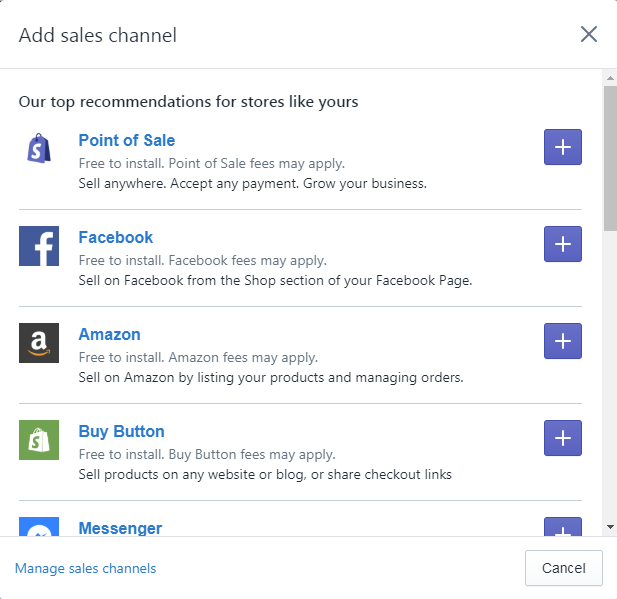
If you cannot find the channel you’re looking for, check the Shopify app store for more options. In the category “Places to sell”, you can find a total of 66 sales apps that you can connect your store to. Additional options include Google, Etsy, Walmart, Jet, NewEgg, Sears, Tophatter, and more.
You’re free to add any sales channel to your Shopify account, but these channels do come with some conditions before you can actually use them. For example, to be able to sell on Amazon, you need an Amazon Professional Seller account – without it, you can’t use the sales channel in Shopify. Your Shopify store needs to meet a few basic requirements to be able to start selling its products on Amazon, which include having an active Shopify subscription and offering pricing info in USD or CAD. When your store meets the requirements, you open the necessary Amazon Pro Seller account, which will cost you $39.95 per month and involves a standard registration procedure to set things up. Further steps to set up your Amazon sales channel include:
- Requesting category approval for product categories that are not yet available on Amazon;
- Adding the Amazon sales channel to your Shopify store;
- Acquiring UPC codes (without UPC codes, you can’t sell on Amazon, but UPC codes may already exist for the products you are dropshipping);
- Creating Amazon listings for your products;
- Claiming existing Amazon listings in your Shopify store;
- Setting up your inventory tracking policy, which can be set to be tracked by Shopify automatically.
Pricing (Plans)
When you want to try out the Shopify platform to see if it is a good option for your online dropshipping store, you can benefit from a 14-day trial period. After the trial period ends, you can continue to use your account, but you have to choose one of three available Shopify plans. You can sign up for a Shopify plan straight away, without using the trial period, which makes sense if you already decided to use Shopify to build your dropshipping store. Most users will opt for using the trial period first and only move to a paid account after the trial period is over.
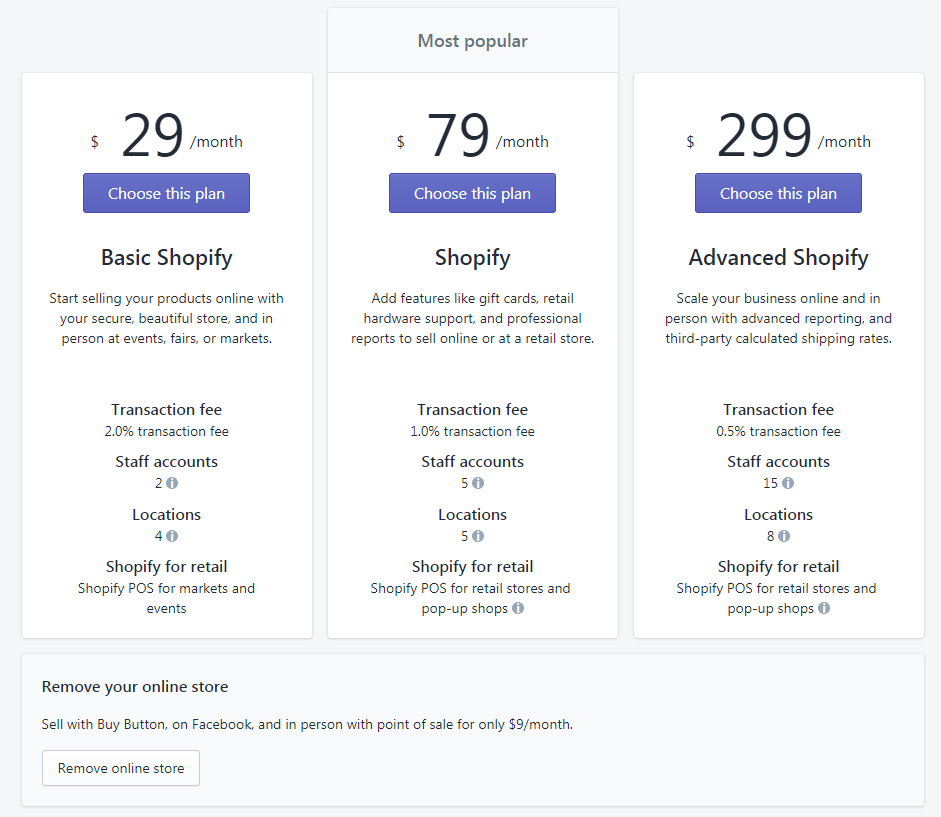
The Shopify plans include the following features:
| Basic Shopify | Shopify | Advanced Shopify | |
| Price | $29/mo | $79/mo | $299/mo |
| Online Store | ✓ | ✓ | ✓ |
| Unlimited products | ✓ | ✓ | ✓ |
| Staff accounts | 2 | 5 | 15 |
| 24/7 support | ✓ | ✓ | ✓ |
| Sales channels | ✓ | ✓ | ✓ |
| Manual order creation | ✓ | ✓ | ✓ |
| Discount codes | ✓ | ✓ | ✓ |
| Free SSL certificate | ✓ | ✓ | ✓ |
| Abandoned cart recovery | ✓ | ✓ | ✓ |
| Gift cards | x | ✓ | ✓ |
| Professional reports | x | ✓ | ✓ |
| Advanced report builder | x | x | ✓ |
| Third-party calculated shipping rates | x | x | ✓ |
| Shipping discount | Up to 64% | Up to 72% | Up to 74% |
| Print shipping labels | ✓ | ✓ | ✓ |
| Fraud analysis | ✓ | ✓ | ✓ |
| Online credit card rates | 2.9% + 30¢ | 2.6% + 30¢ | 2.4% + 30¢ |
| In-person credit card rates | 2.7% + 0¢ | 2.5% + 0¢ | 2.4% + 0¢ |
| Additional fees using all payment providers other than Shopify Payments |
2.0% | 1.0% | 0.5% |
Customer Support
Shopify does not leave its users in the dark when they require help – quite the opposite. The platform offers various support channels in its Help Center:
- Searchable and categorized knowledge center
- Specific assistance for problems with Shopify themes
- Support channel for developers
- Additional support menu:
- Contact support
- Video tutorials
- Shopify community
- Webinars
- Changelog (outlining recent platform updates)
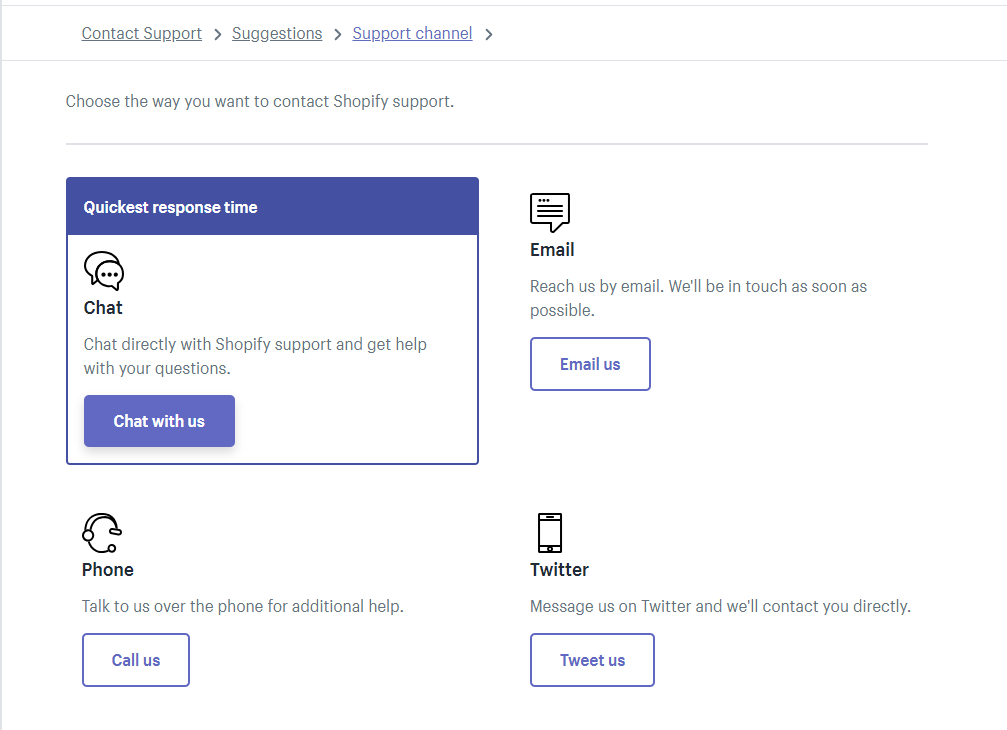
Paid account holders can contact Customer Support at any given time – the service is available 24/7. Shopify does urge users to check other support means before contacting Customer Support, and there is a good chance that, when you put in a little effort and time, you can solve the majority of problems you run into with the available options. However, it is not hard to reach the direct support channels that will put you in contact with the support team. You can use the chat option, call by phone (+1-855-816-3857), send an email, or use Twitter.
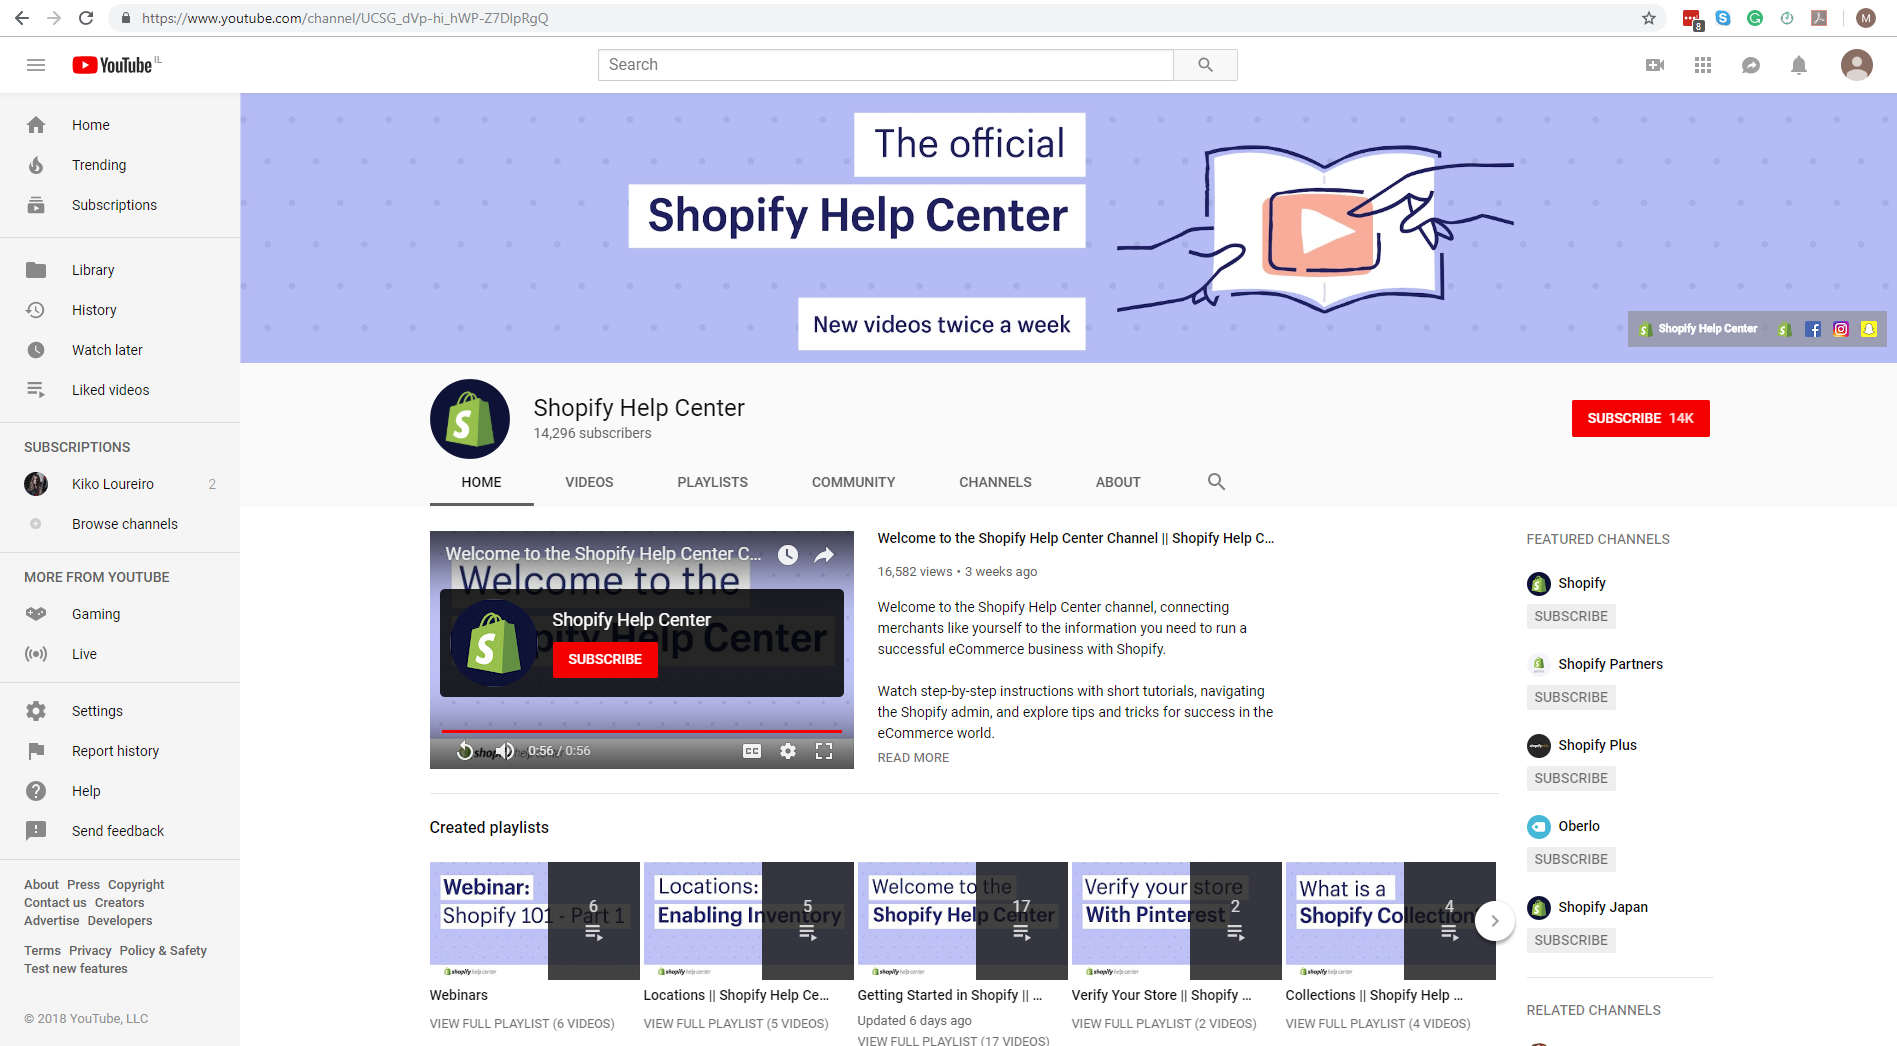
Shopify’s support options are extensive and of high quality, but especially their video tutorial section, run through a special YouTube channel, deserves special mentioning. With new videos added every week, this is a superb help channel.
Pros & Cons
Pros
- Preferred supplier app (Oberlo)
- Good alternative/ additional supplier integration options
- Extensive app store for potential dropshipping integrations
- Wide variety of support options
Cons
- Relatively small number of templates
- Convenient, but limited editor
- Too little emphasis within the platform on Shopify’s dropshipping features
Our Conclusion
Shopify offers users an extensive range of tools to build their online store. The platform includes a range of free and premium templates, an easy-to-navigate yet somewhat limited editor for customization purposes, many integration options, abundant options for adding additional sales channels, and much more. And while the platform is very easy to use, it does not take potential dropshippers by the hand to show what dropshipping related features are available.
Obviously, the dropshipping option is available and not very hard to find, but dropshipping is just one of the possible ways to run a Shopify store. People specifically interested in the dropshipping method may prefer an eCommerce platform that is more focused on helping them set on their way to open their dropshipping store, without having to sift through various other options first. That said, Shopify does offer plenty of tools for dropshippers. Potential dropshippers who have their mind set on using Shopify, will not be disappointed in the platform.